
Copying and Pasting Content and Dragging Files Between VMware Virtual Machines and the Host System
After properly installing a Linux virtual machine in VMware—using Ubuntu as an example (though the process is similar for other Linux or Windows systems)—you should be able to copy, paste, and drag content in both directions with the default settings. If you encounter issues with copying or dragging, it’s likely due to VMware Tools not being installed correctly. Below, we summarize the potential scenarios and provide two methods for manually installing VMware Tools.
VMware Tools Installation Unsuccessful
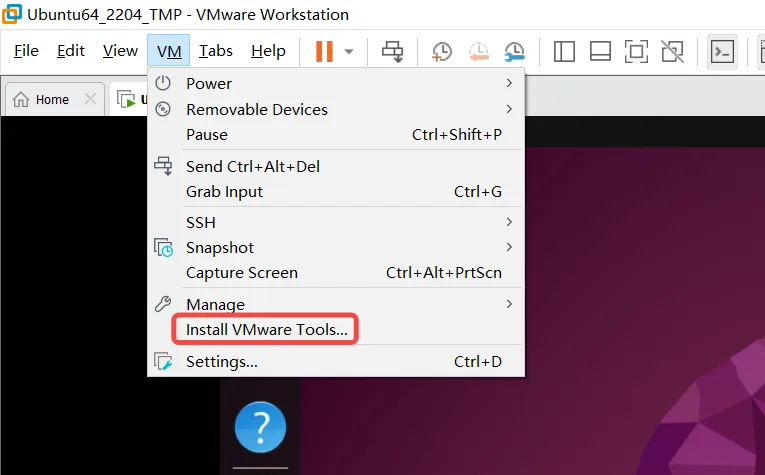
Open VMware and click on “VM” in the main interface. If the “Install VMware Tools” menu is grayed out, it indicates that VMware Tools is not installed successfully.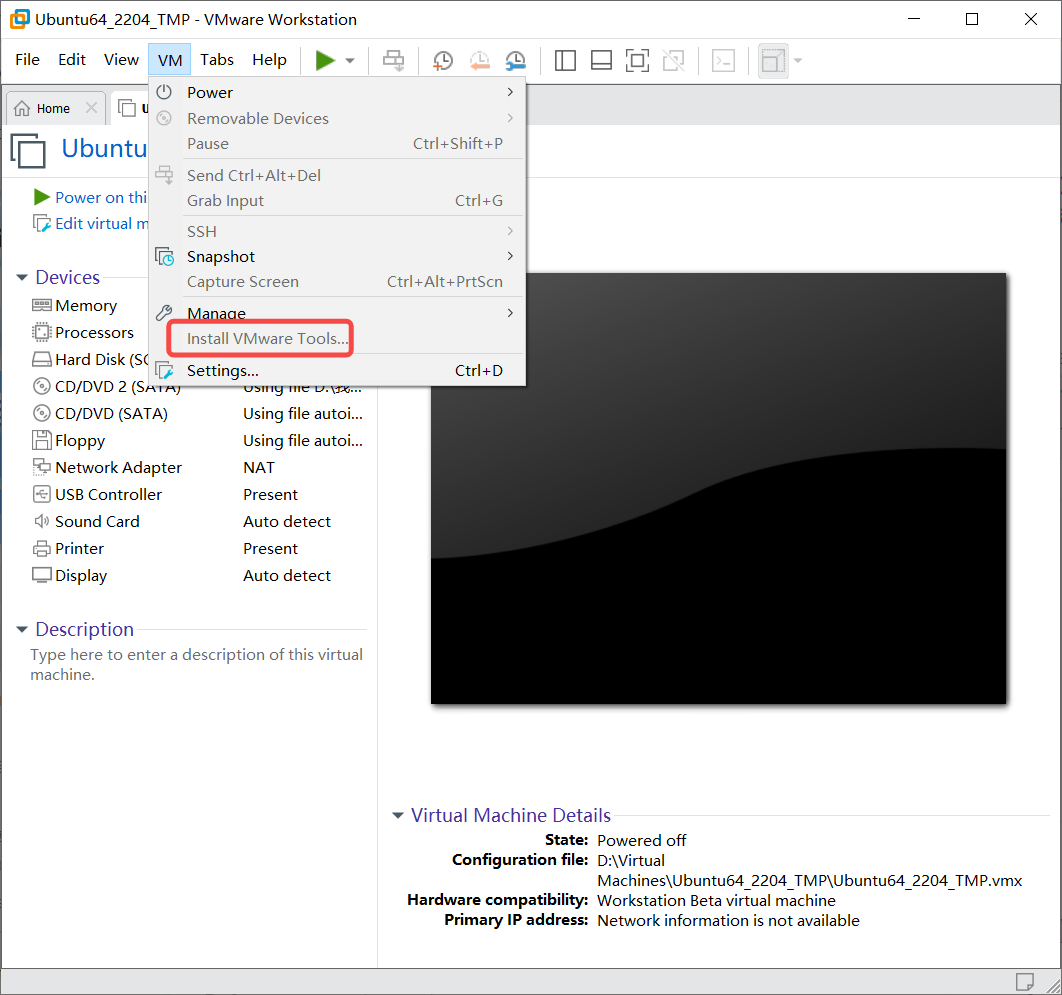
Once VMware Tools is successfully installed, the interface will display an option to “Reinstall VMware Tools” as shown below.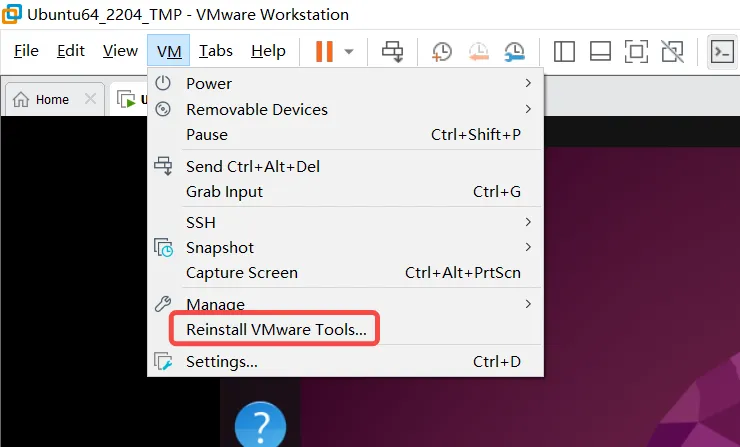
How to resolve this issue:
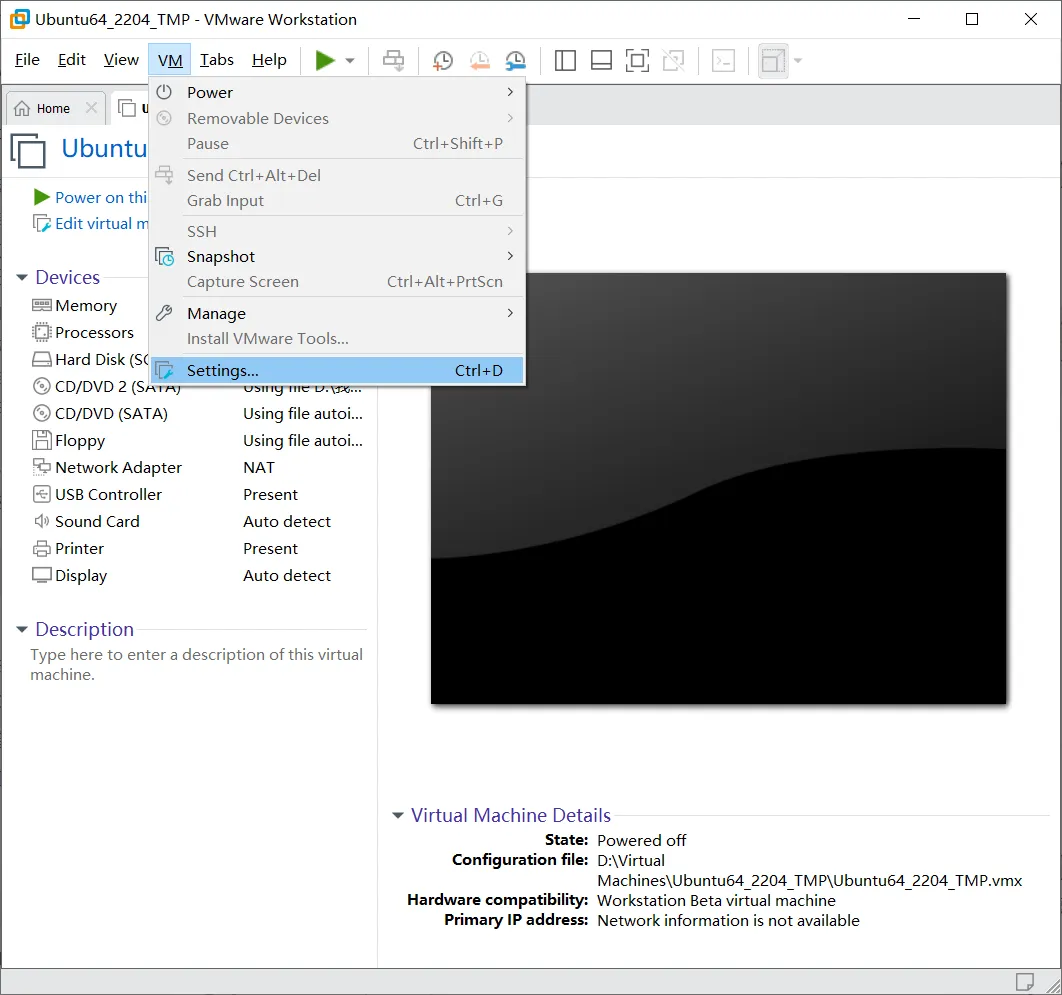
- Shut down the virtual machine, then go to the “VM” menu and open the settings.
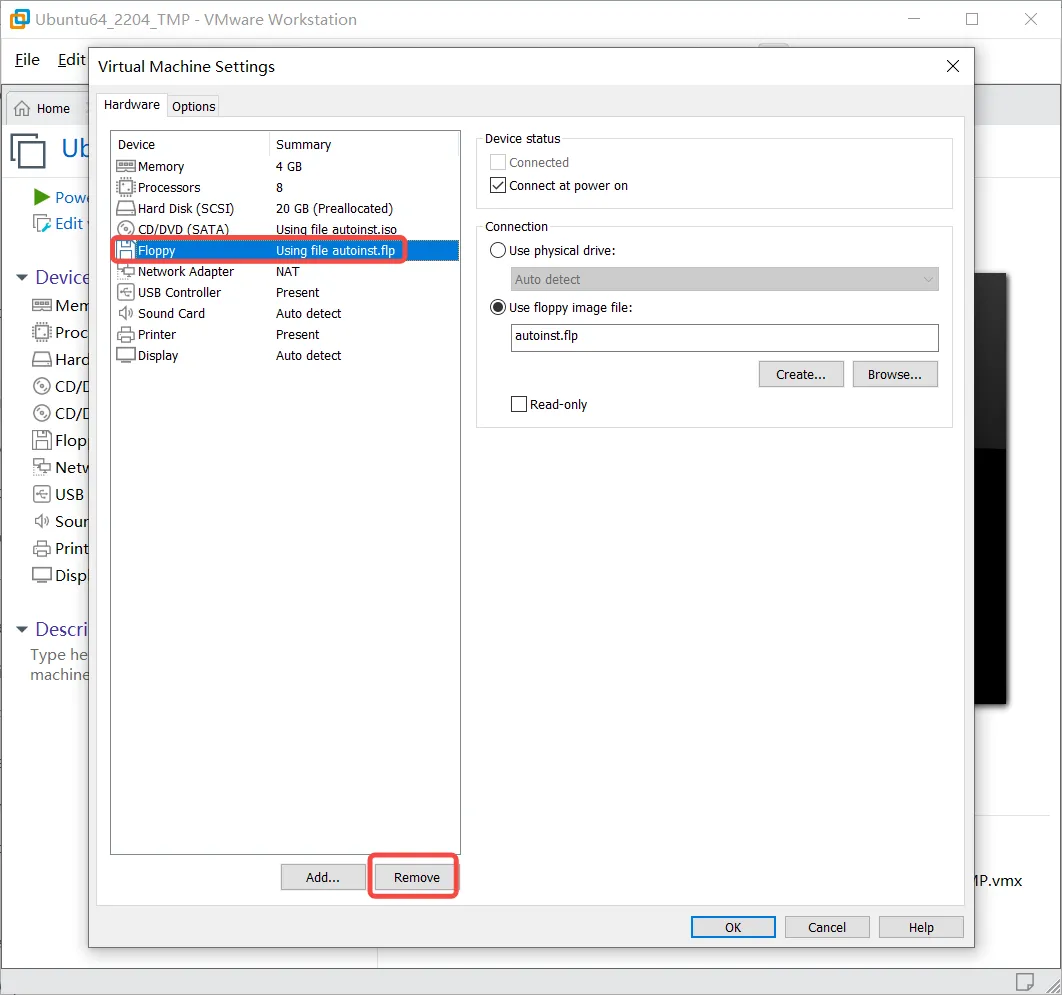
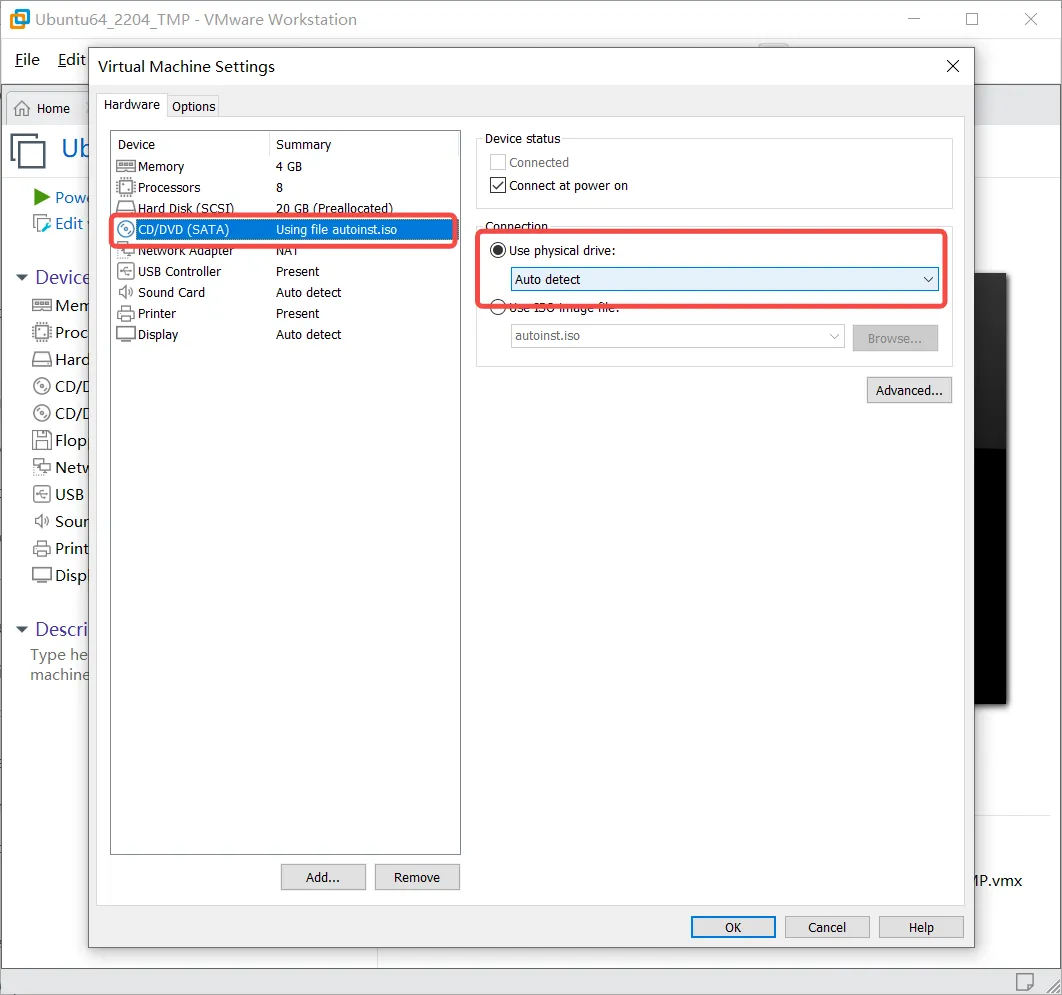
- Open the virtual machine settings interface as shown below. In the settings, first remove the floppy drive (since floppy disks are obsolete, you can delete this option). Then, select the CD/DVD drive, and under “Connection,” set it to “Auto detect,” as illustrated in the image.
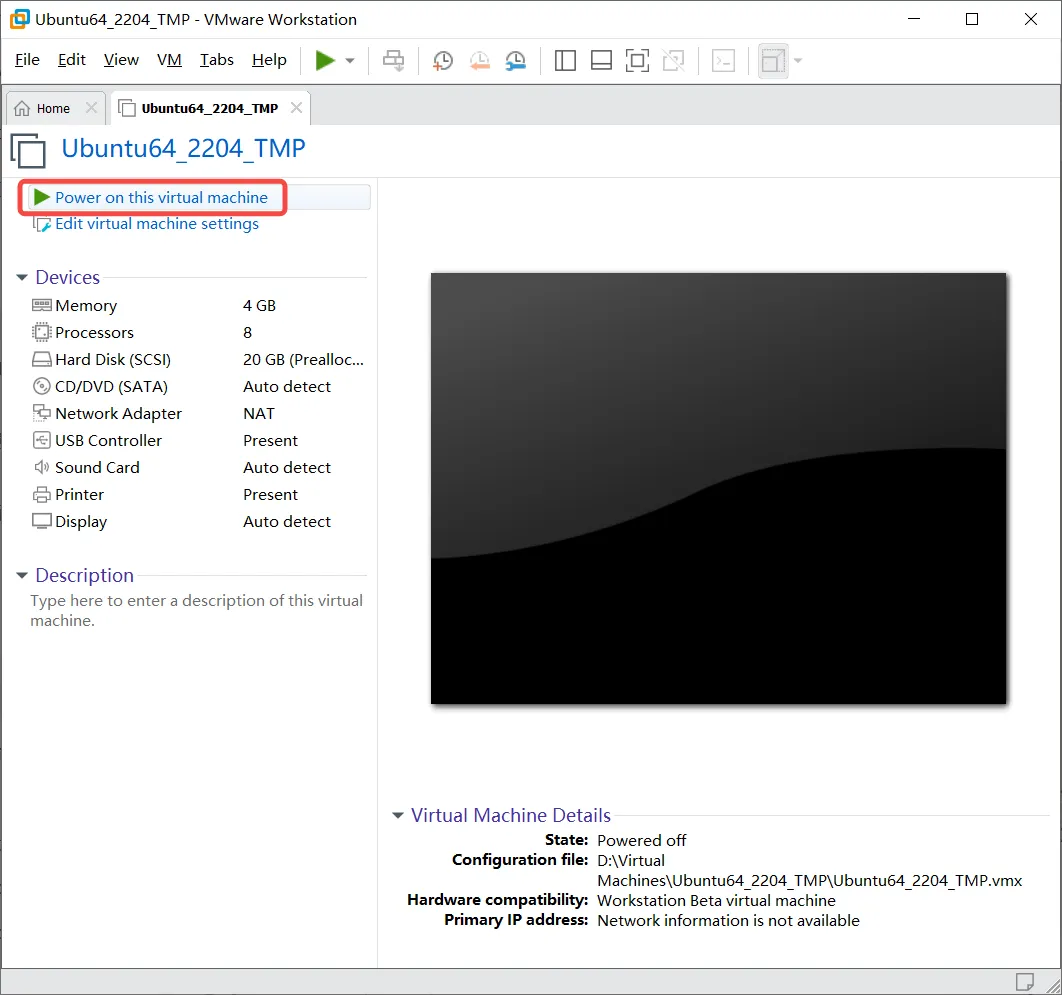
- Start the virtual machine, and the previously greyed-out option will become active, allowing you to proceed with the installation. Then, click it to install VMware Tools.
Still Can’t Copy After Installing VMware Tools?
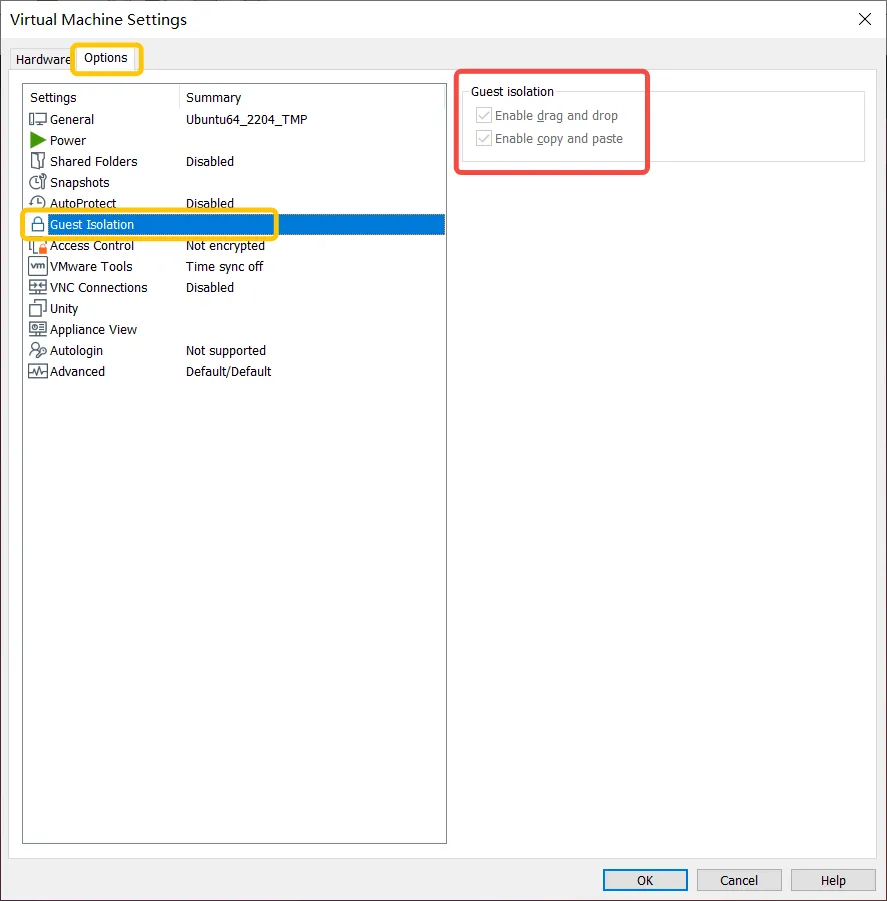
- Open the “VM” menu, click on “Settings,” and then switch to the “Options” tab in the settings window, as shown in the image below. Check the two options highlighted in red.
- If VMware Tools is correctly installed and the settings shown above are configured, but you still can’t copy, it may be due to a corrupted or mismatched version of VMware Tools. Try reinstalling or upgrading VMware Tools. Note that VMware Tools is a standalone software that can be installed and updated separately.
Manual Installation of VMware Tools: Method 1
This method involves installing VMware Tools directly from the internet using Ubuntu’s command line. Open a terminal window and run the following commands. Before proceeding, ensure that the virtual machine has internet access and can connect to the software update servers. Use the following commands:
1 | sudo apt-get autoremove open-vm-tools |
Manual Installation of VMware Tools: Method 2
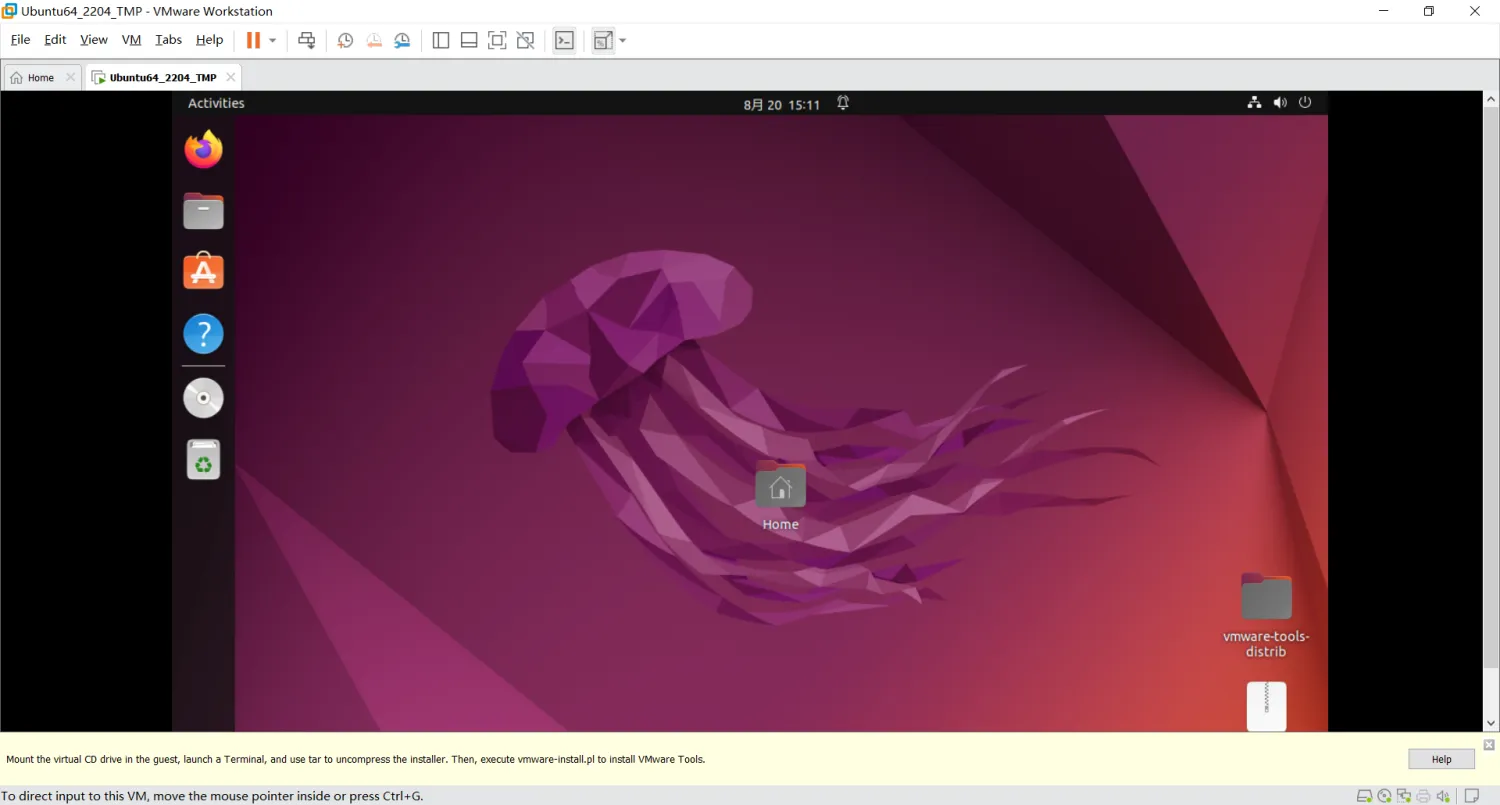
- Open VMware, go to the “VM” menu, and select “Reinstall VMware Tools,”. Then VMware will automatically create a virtual CD containing the VMware Tools software. A notification will appear at the bottom of the VMware interface, indicating that the virtual CD has been successfully loaded, as shown below.
- In Ubuntu, open the file manager and navigate to the VMware Tools virtual disk.
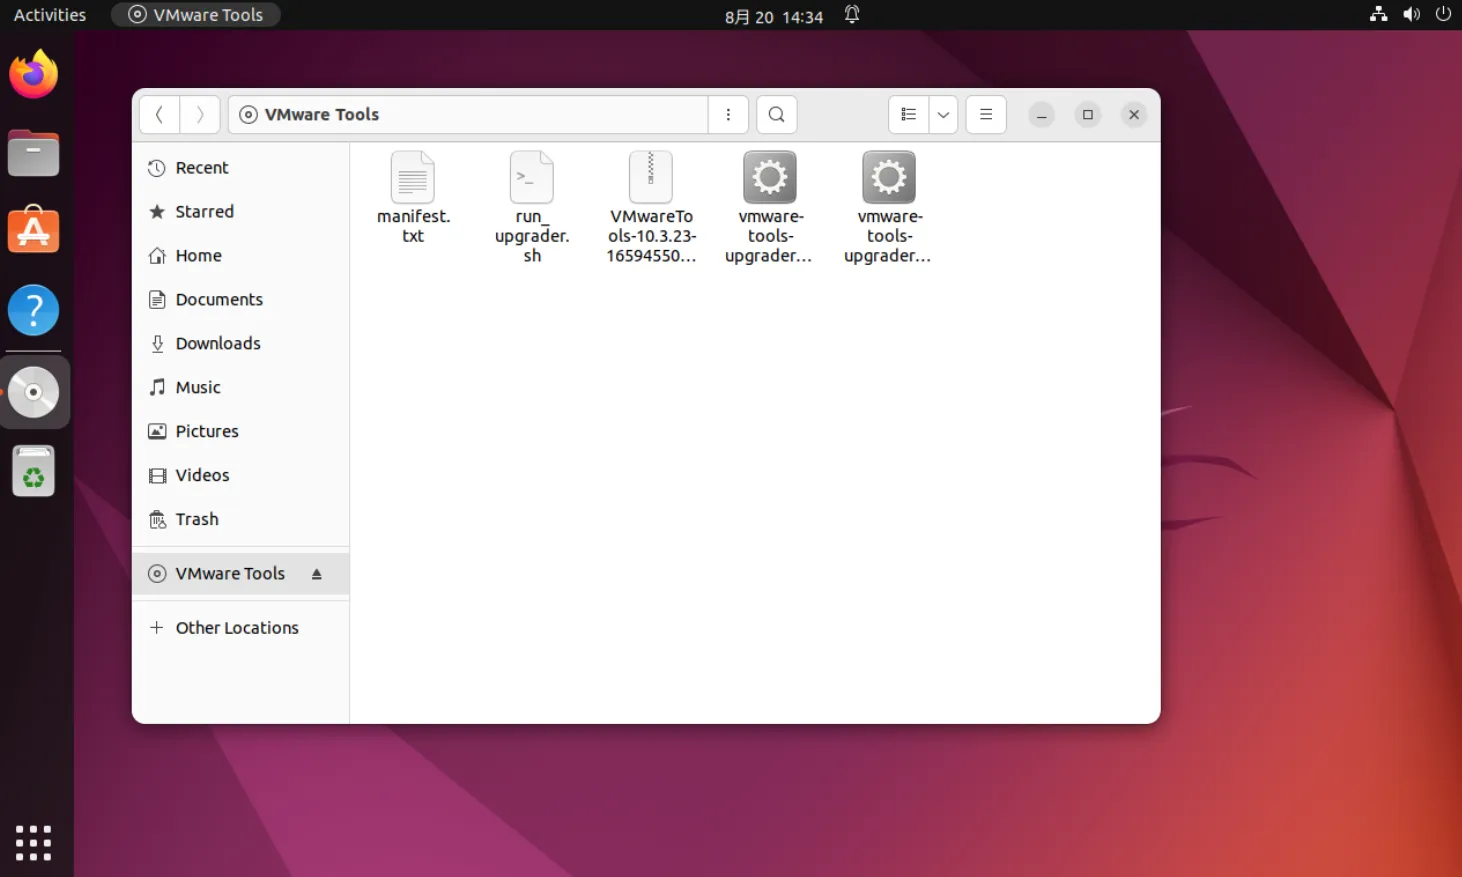
- Locate and select the
VMwareTools-xx.x.xx-xxxxxxxx.tar.gzfile in the directory.
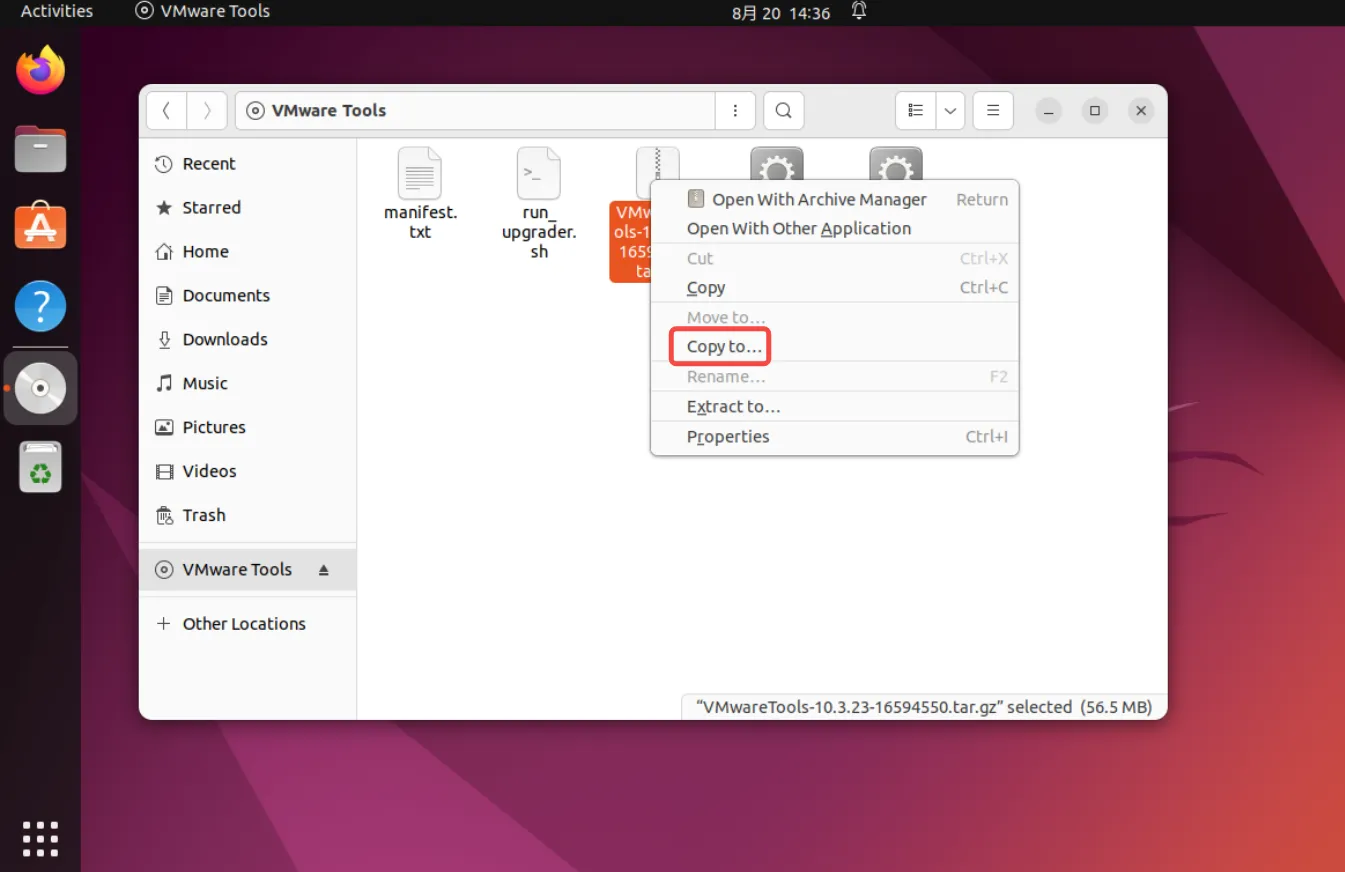
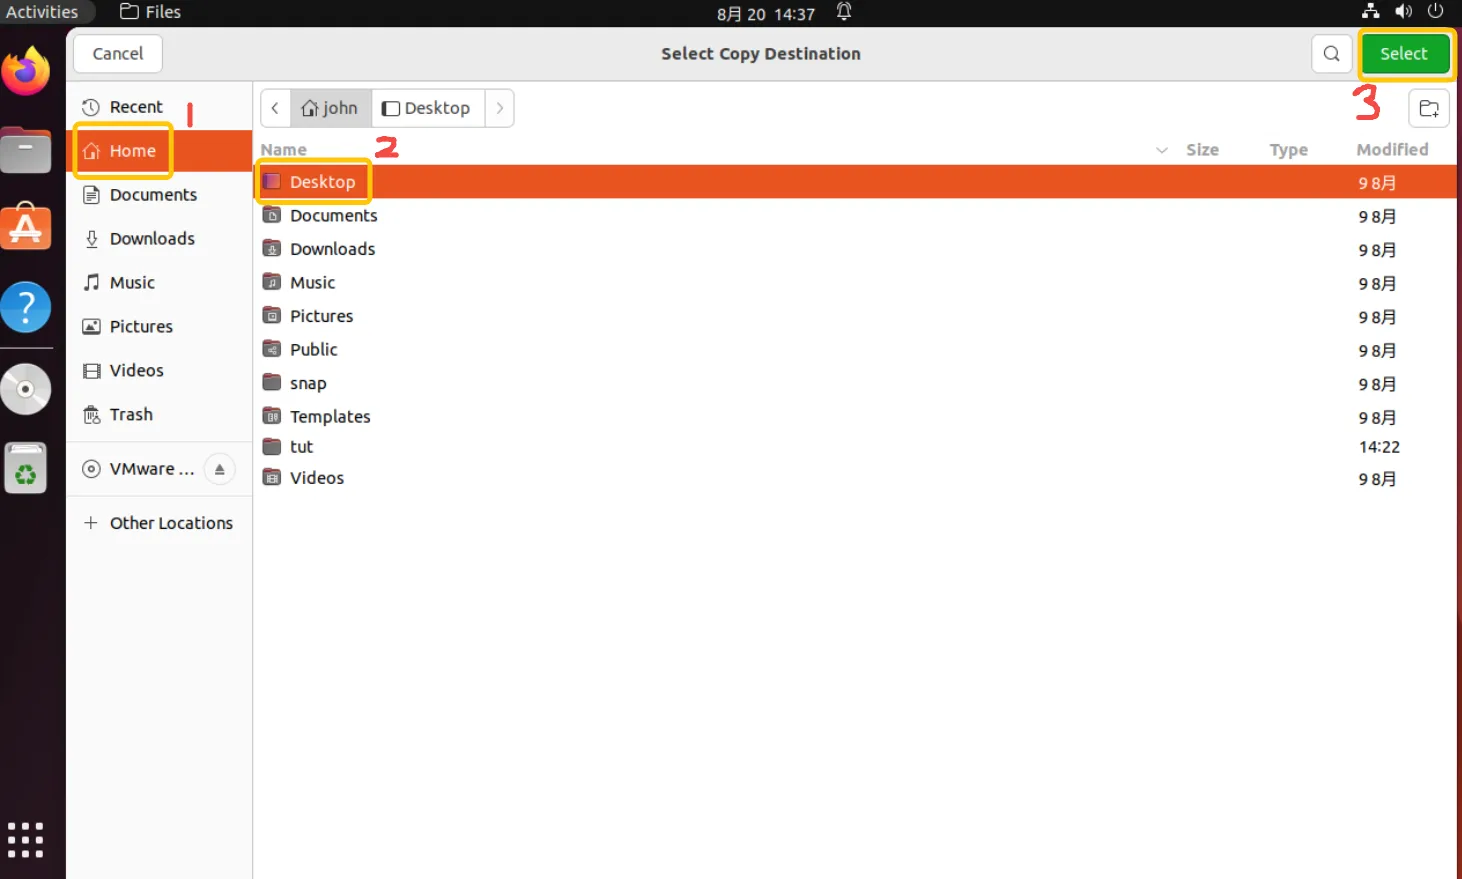
- For convenience, copy this file to your desktop. In the file manager, select “Desktop” and then click “Select” at the bottom right.
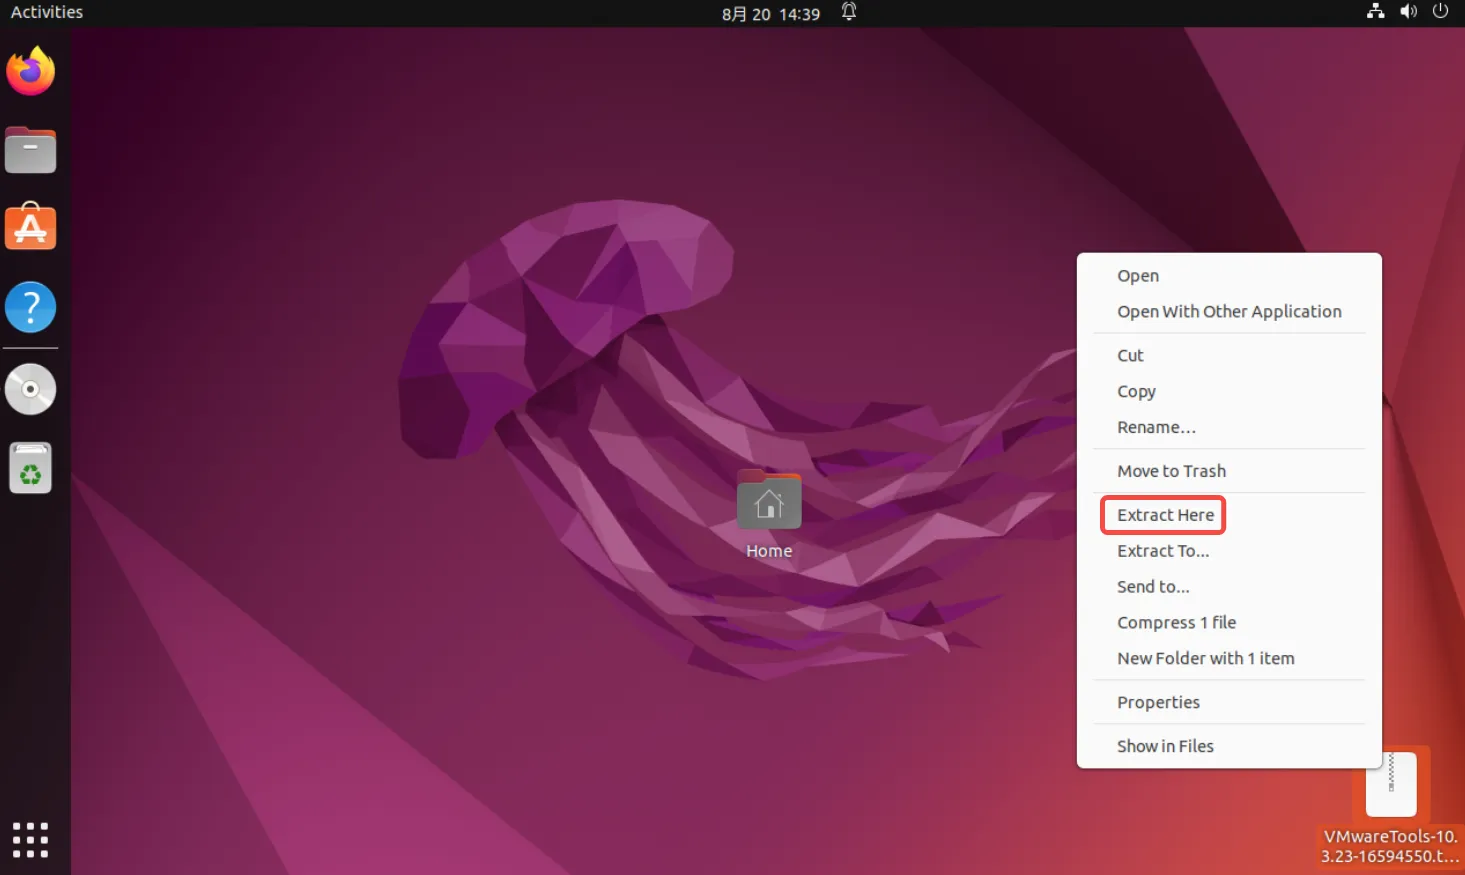
- Navigate to the “Desktop” directory, right-click on the
VMwareTools-xx.x.xx-xxxxxxxx.tar.gzfile, and choose “Extract Here” from the context menu to unzip the file on the desktop.
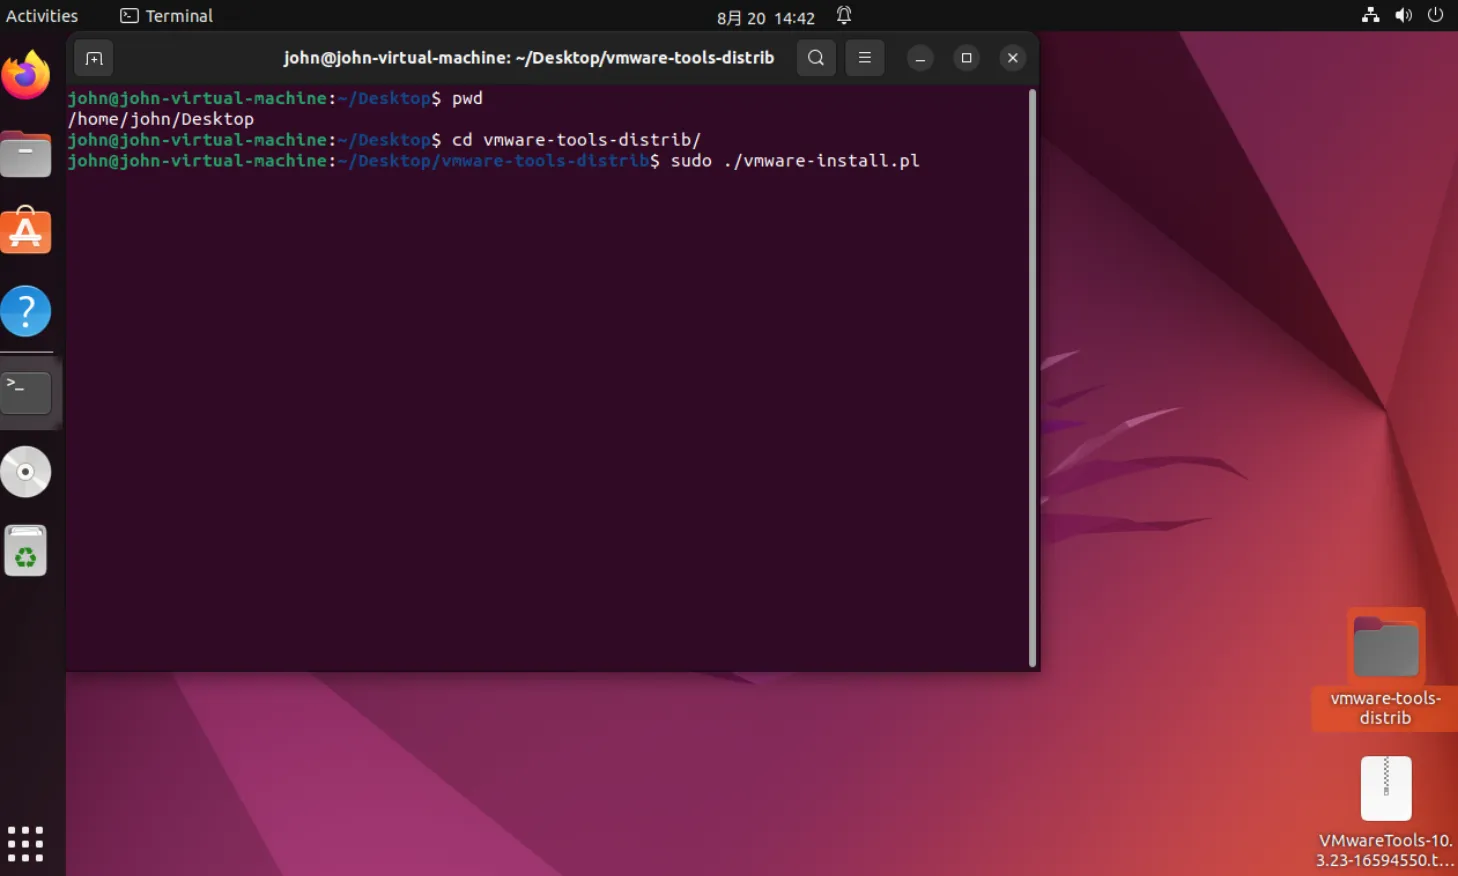
- Return to the desktop and open a terminal window, as shown below. Navigate to the
vmware-tools-distribdirectory and run thevmware-install.plscript:Enter your administrator password when prompted, and the installation will proceed. You may need to respond with “yes” to some prompts, as shown below.1
sudo ./vmware-install.pl
End
After the installation is complete, it’s best to restart the virtual machine. Once VMware Tools is installed and properly configured, you’ll be able to copy and paste content, including files, between the host and the virtual machine.